Devil to Detail: Scan to Cast - Bennett’s Customs
I spent a week in the workshop with Jordan from Bennett’s Customs while I was visiting Australia in January. The purpose of this visit was to collaborate on a few projects and scan some current projects in the workshop that could be used for future work. The intention was also to assist in bring 3D scanning and digital fabrication into the workshop and present what is possible. Through this visit Jordan had a million new ideas which we will look to bring to life in future projects.
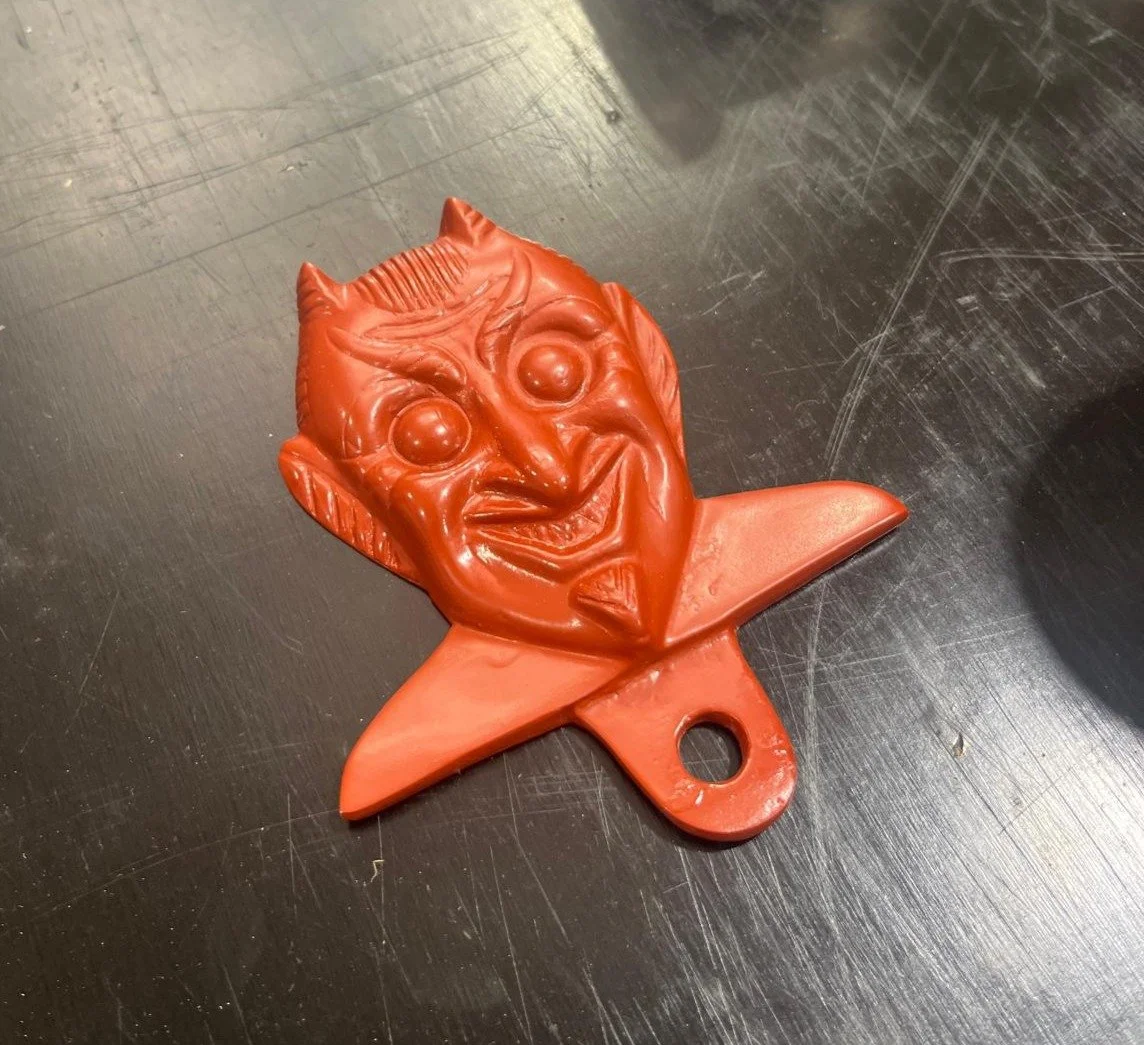
One of these projects was to refine a casting blank to allow for the series production. This devil head is something that is mounted to for example a license plate on old hot rods. The current issue is that Jordan has no way of producing multiple blanks except casting more, which is time intensive and requires time and materials. The goal of this project was to scan the devil and recreate it in 3D. Once in 3D we can 3D print multiple devils which can then be casted in multiples, increasing output and reducing cost.
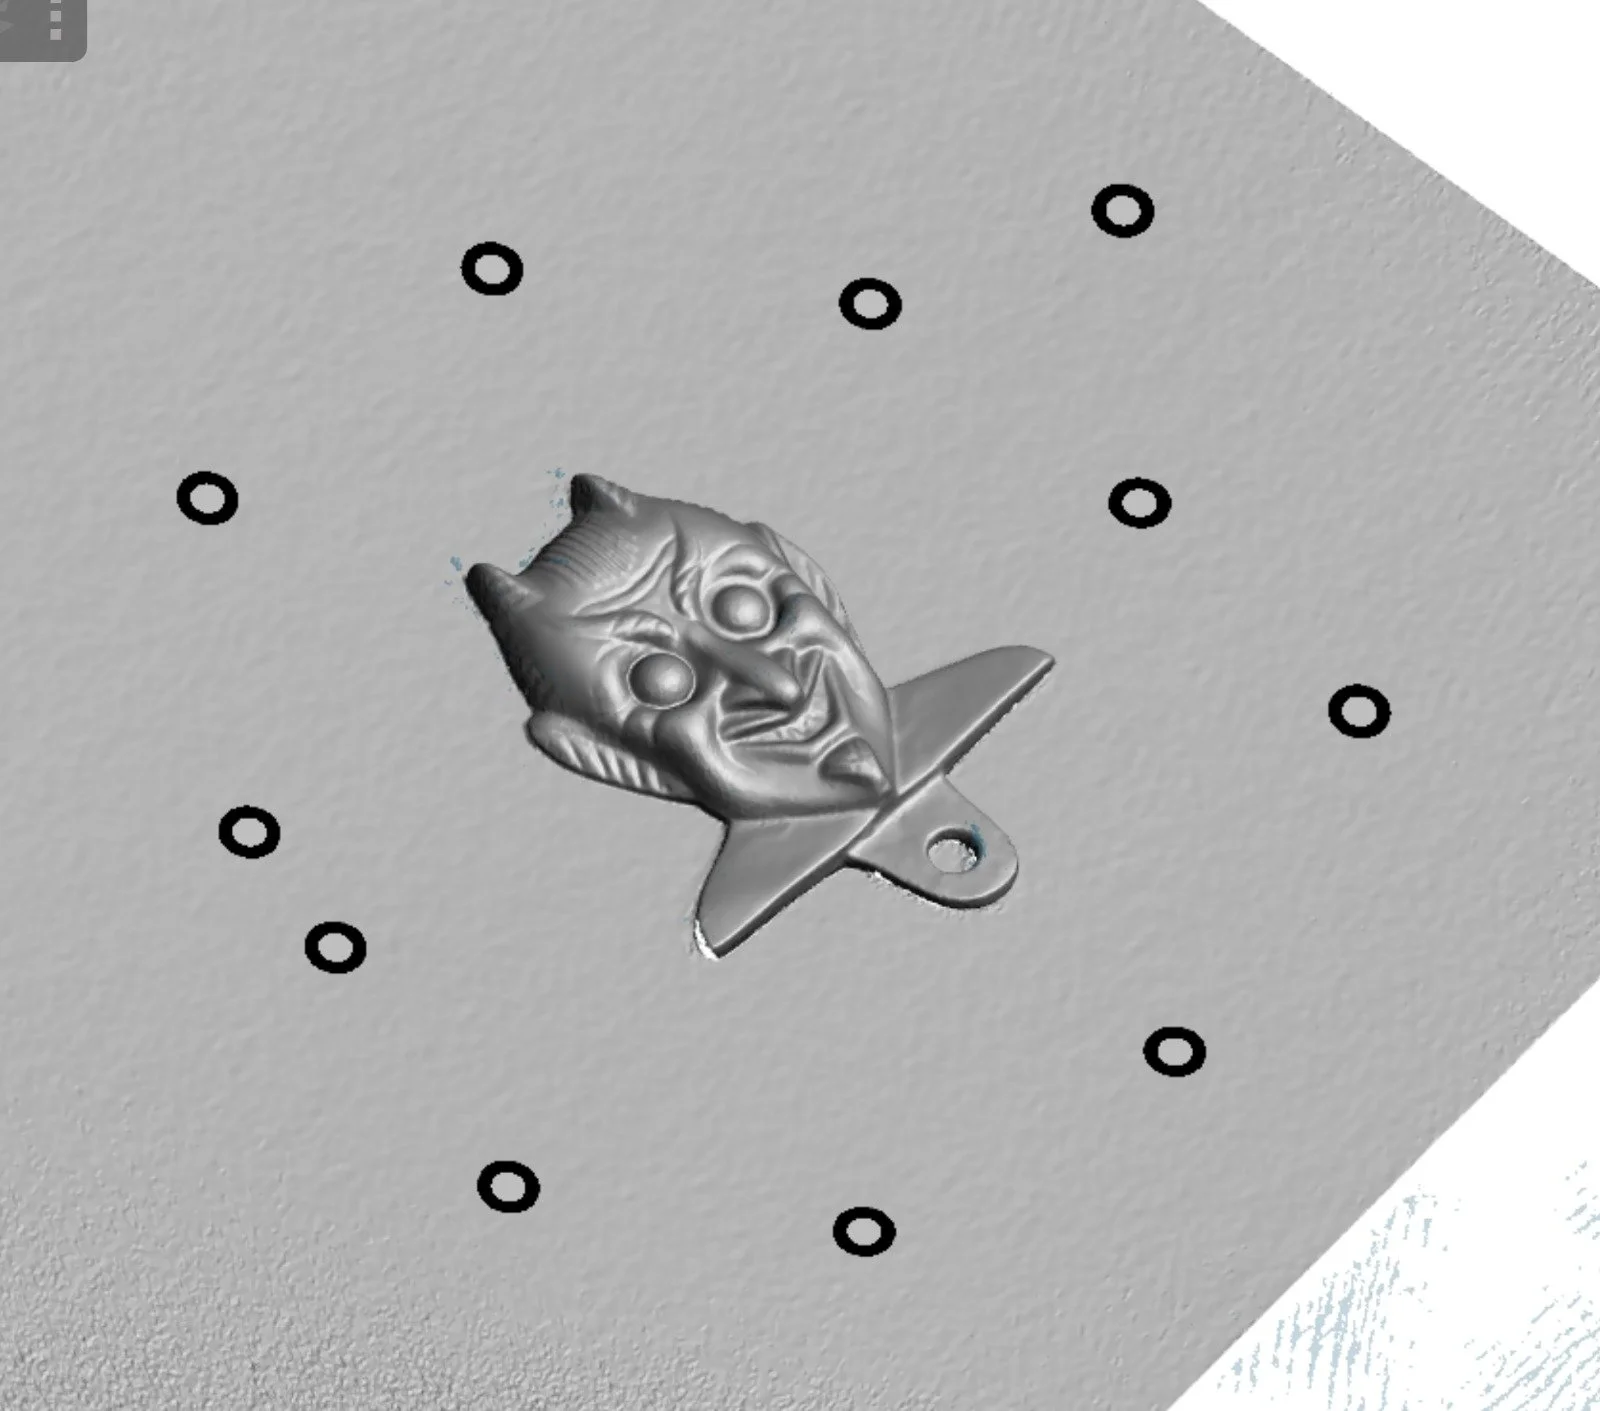
The first step was to get the devil scanned. I used my Peel 3D scanner to scan the devil using a very fine setting in order to get all the detail. Since there is a lot of small details it is important to change the settings of the scanner and pay attention to were you are scanning in order to get as much detail as possible. The Peel.3D scanner is able to capture a lot of detail, however there is always a limit depending on the scanners specification.

From the scan a mesh is created. From this mesh we can see that a lot of the the detail has been capture however some areas are not ideal. The mesh allows us to capture the 3D form but we also have the possibility to improve the blank. There are a few points that we wanted to improve:
The overall thickness of the blank is to thin. This causes problems with casting but also impacts the aesthetic of the piece.
The lower ‘triangle’ is not symmetric and slightly bent.
Jordan normally has to drill out the eyes in order to glue the gems in for the eyes. We want to cut a relief into the eye to allow him to directly glue them in without drilling.

Highlighted in red are the updates that we made:
Overall we increased the body by 1.5mm, this will help with the casting and gives a higher quality look.
Re-modelled the lower triangle so it is perfectly symmetrical and blended it into the scan mesh. The mounting hole is now also cleaner and thicker strengthening the mounting connection.
Added cutouts for the eyes, this reduces the manual work afterwards and allows for a uniform look
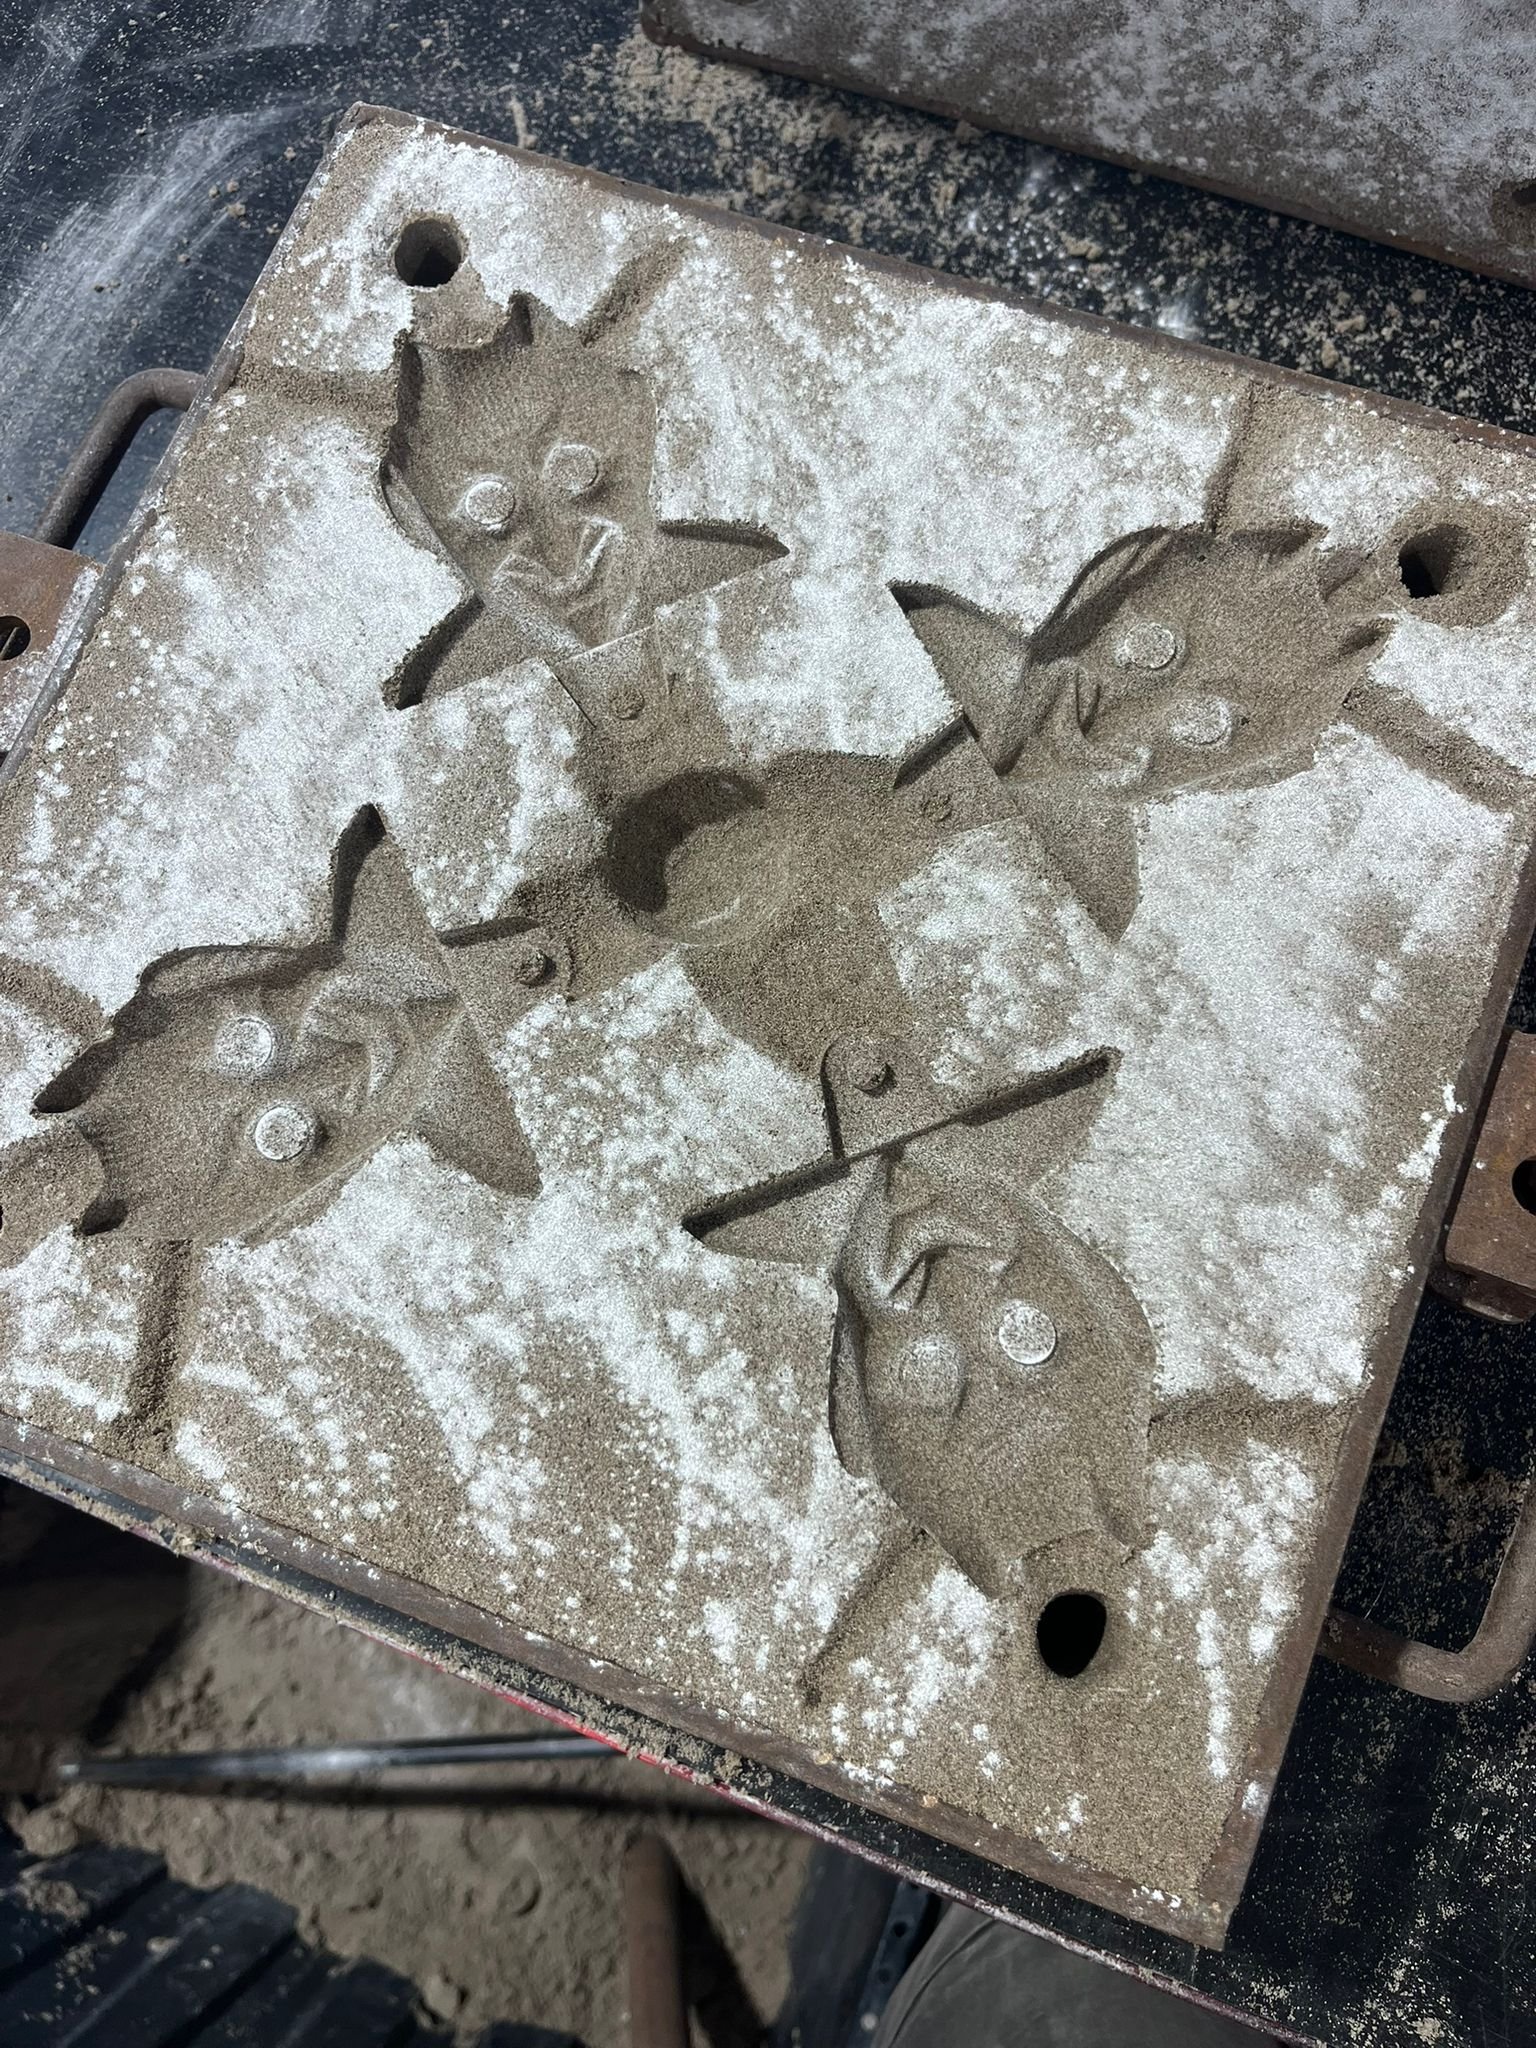
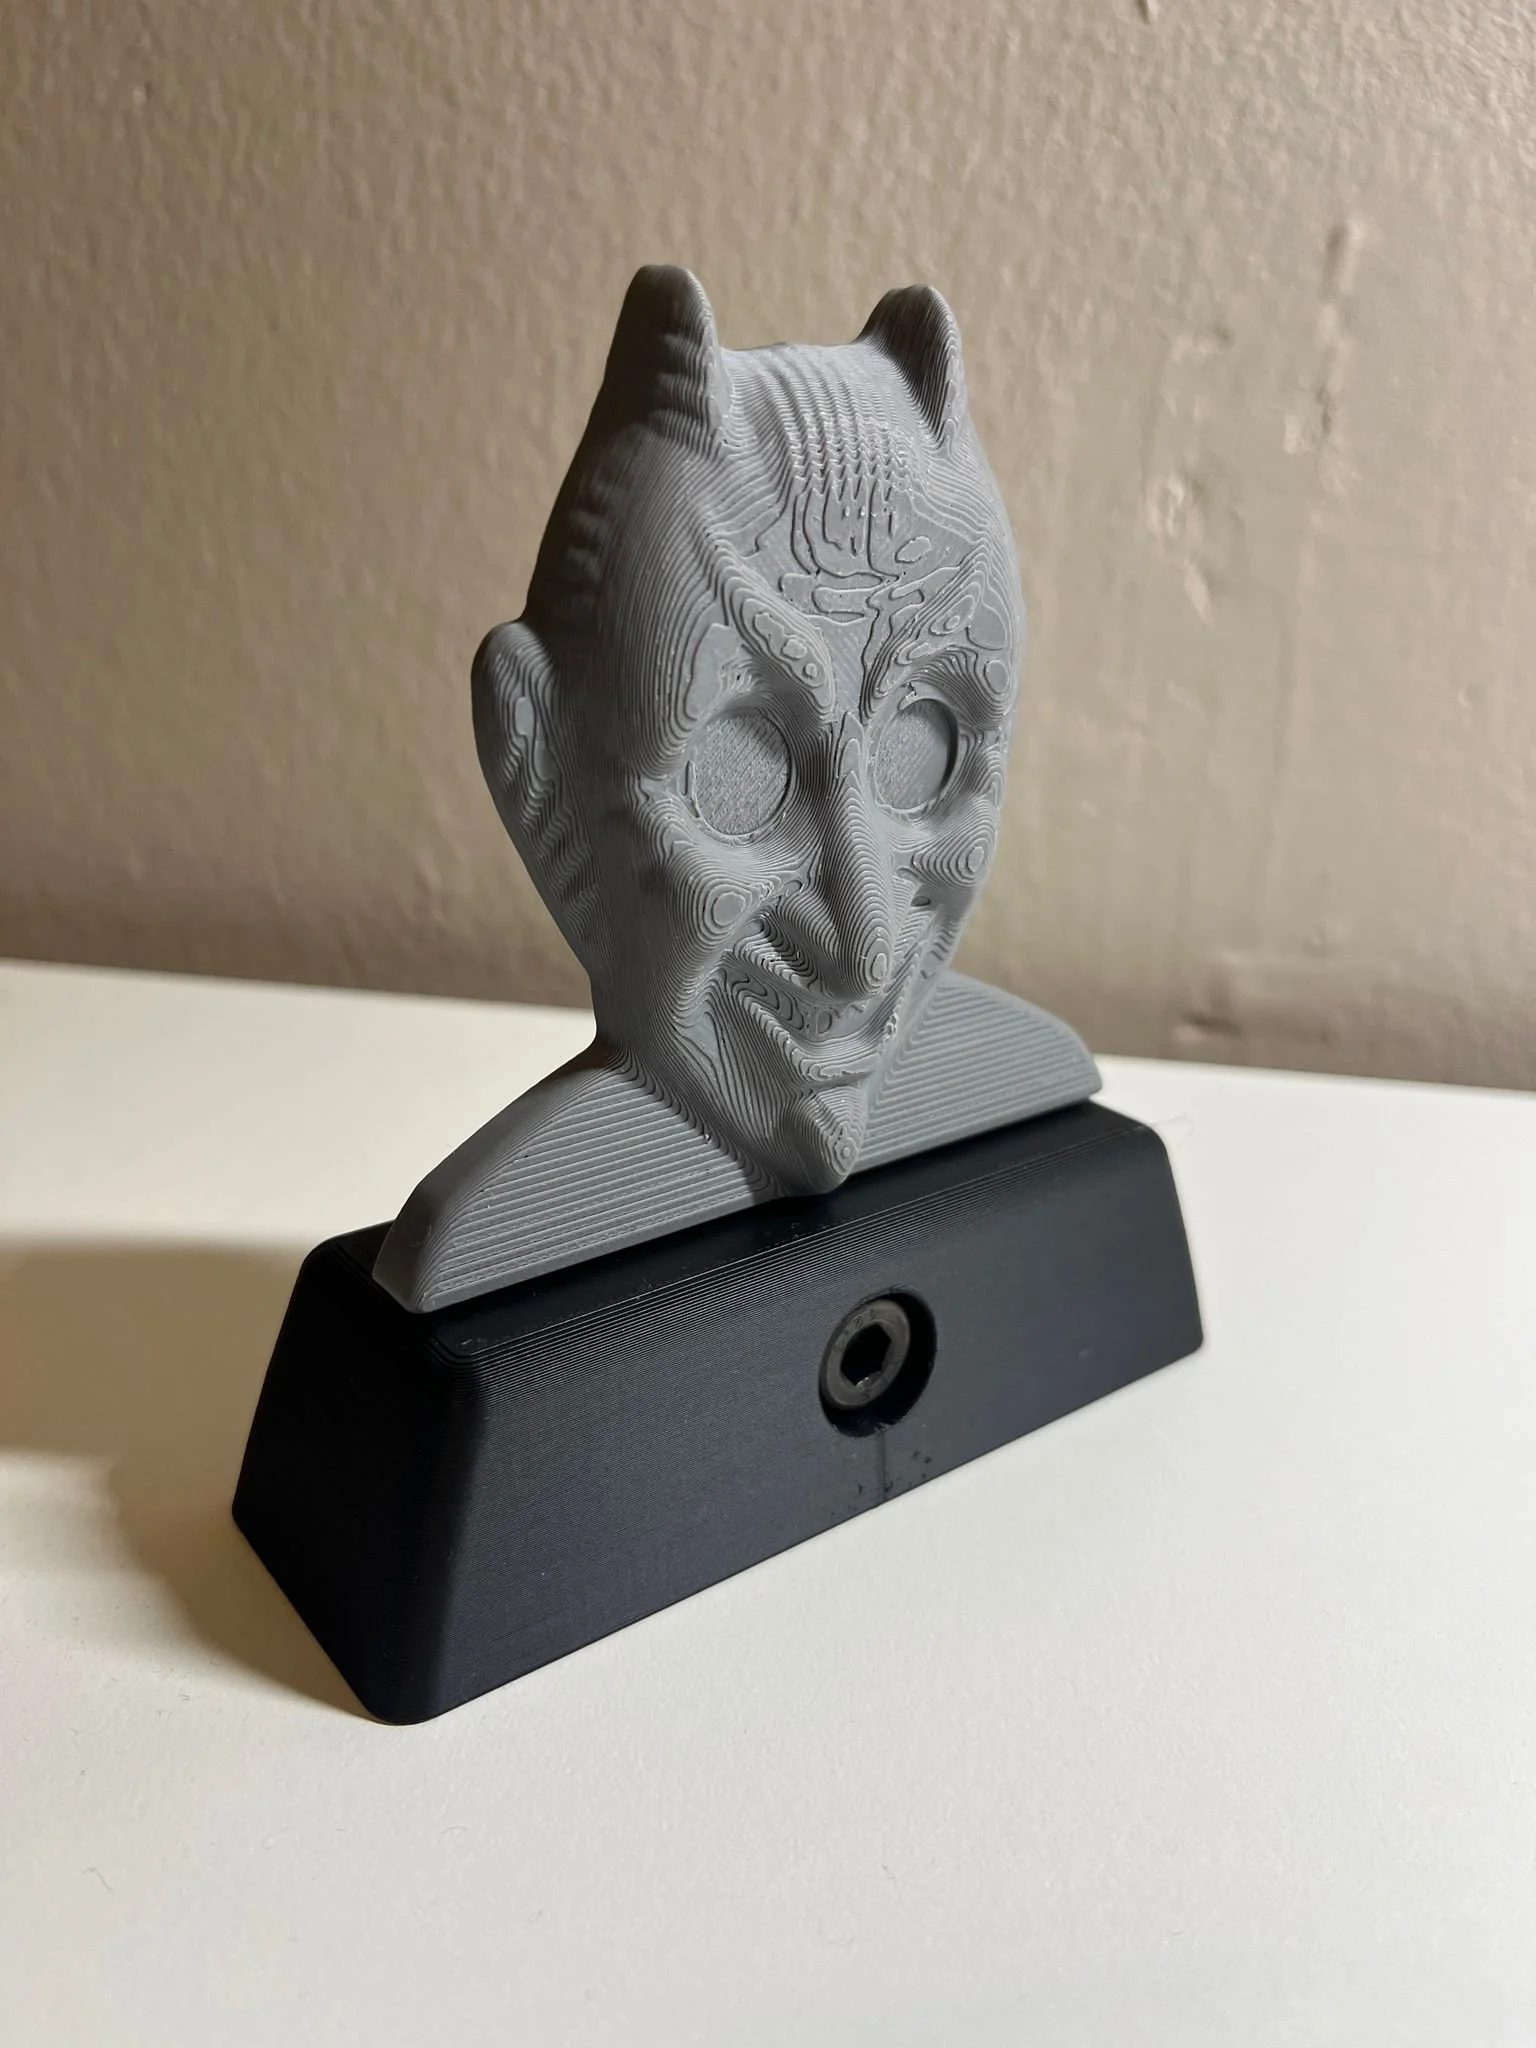
With the model finalized I created a program to print out a set of 4. Having a set of 4 allows a larger batch to be casted at the same time. I adjusted the settings of the 3D print to a smaller layer height to try and get as much detail as possible while reducing the 3D print lines. With FDM printing there will always be some form of printing lines but to get rid of this, they can be sanded and lightly primed. It is also assumed that the blanks can be used multiple times, reducing the manual finishing effort. The other option for these is to print them in a resin printer which will give a fully smooth finish. We may explore this at a later stage but currently we didn’t have access to a resin printer.
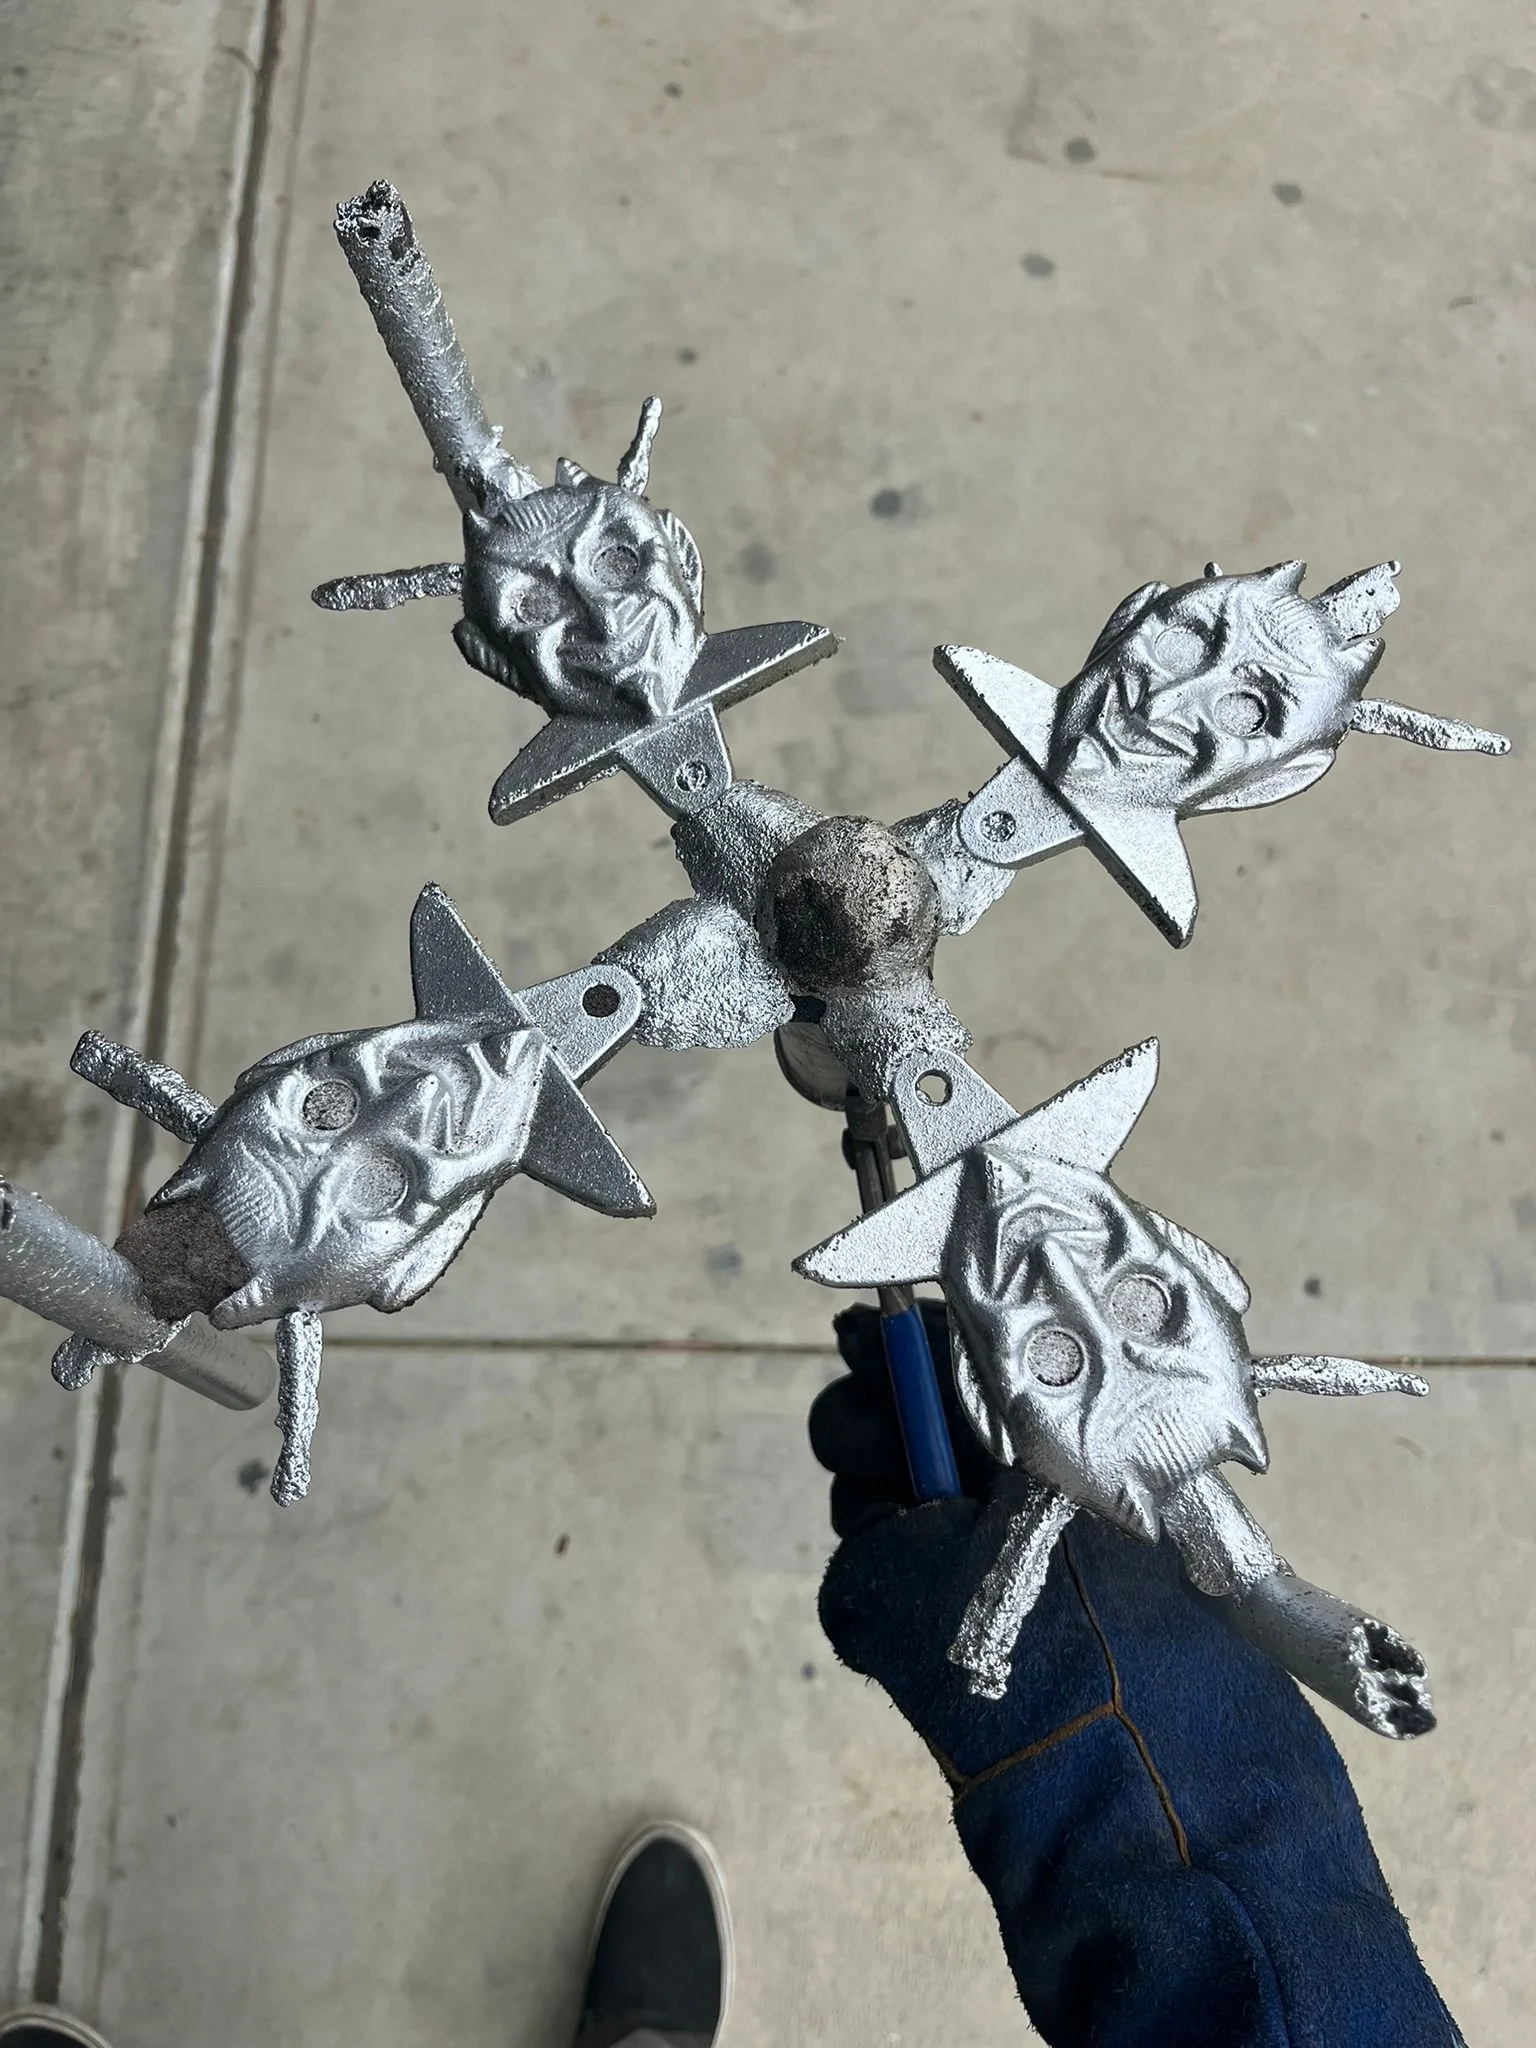
At this stage the next step is to cast the parts. This will be detailed in a future video on the Bennett’s Customs Youtube channel. It was great to visit Jordan and the crew and get creative on some projects while in Australia. I found that once we started discussing projects it was easy to find the applications for scanning and digital fabrication that could integrate into the traditional forms of building that Jordan showcases. If you are interested in more information on anything involved here or would like to discuss how these processes can be implemented into your own workshop or projects, feel free to reach out.
https://www.youtube.com/@bennettscustomsco
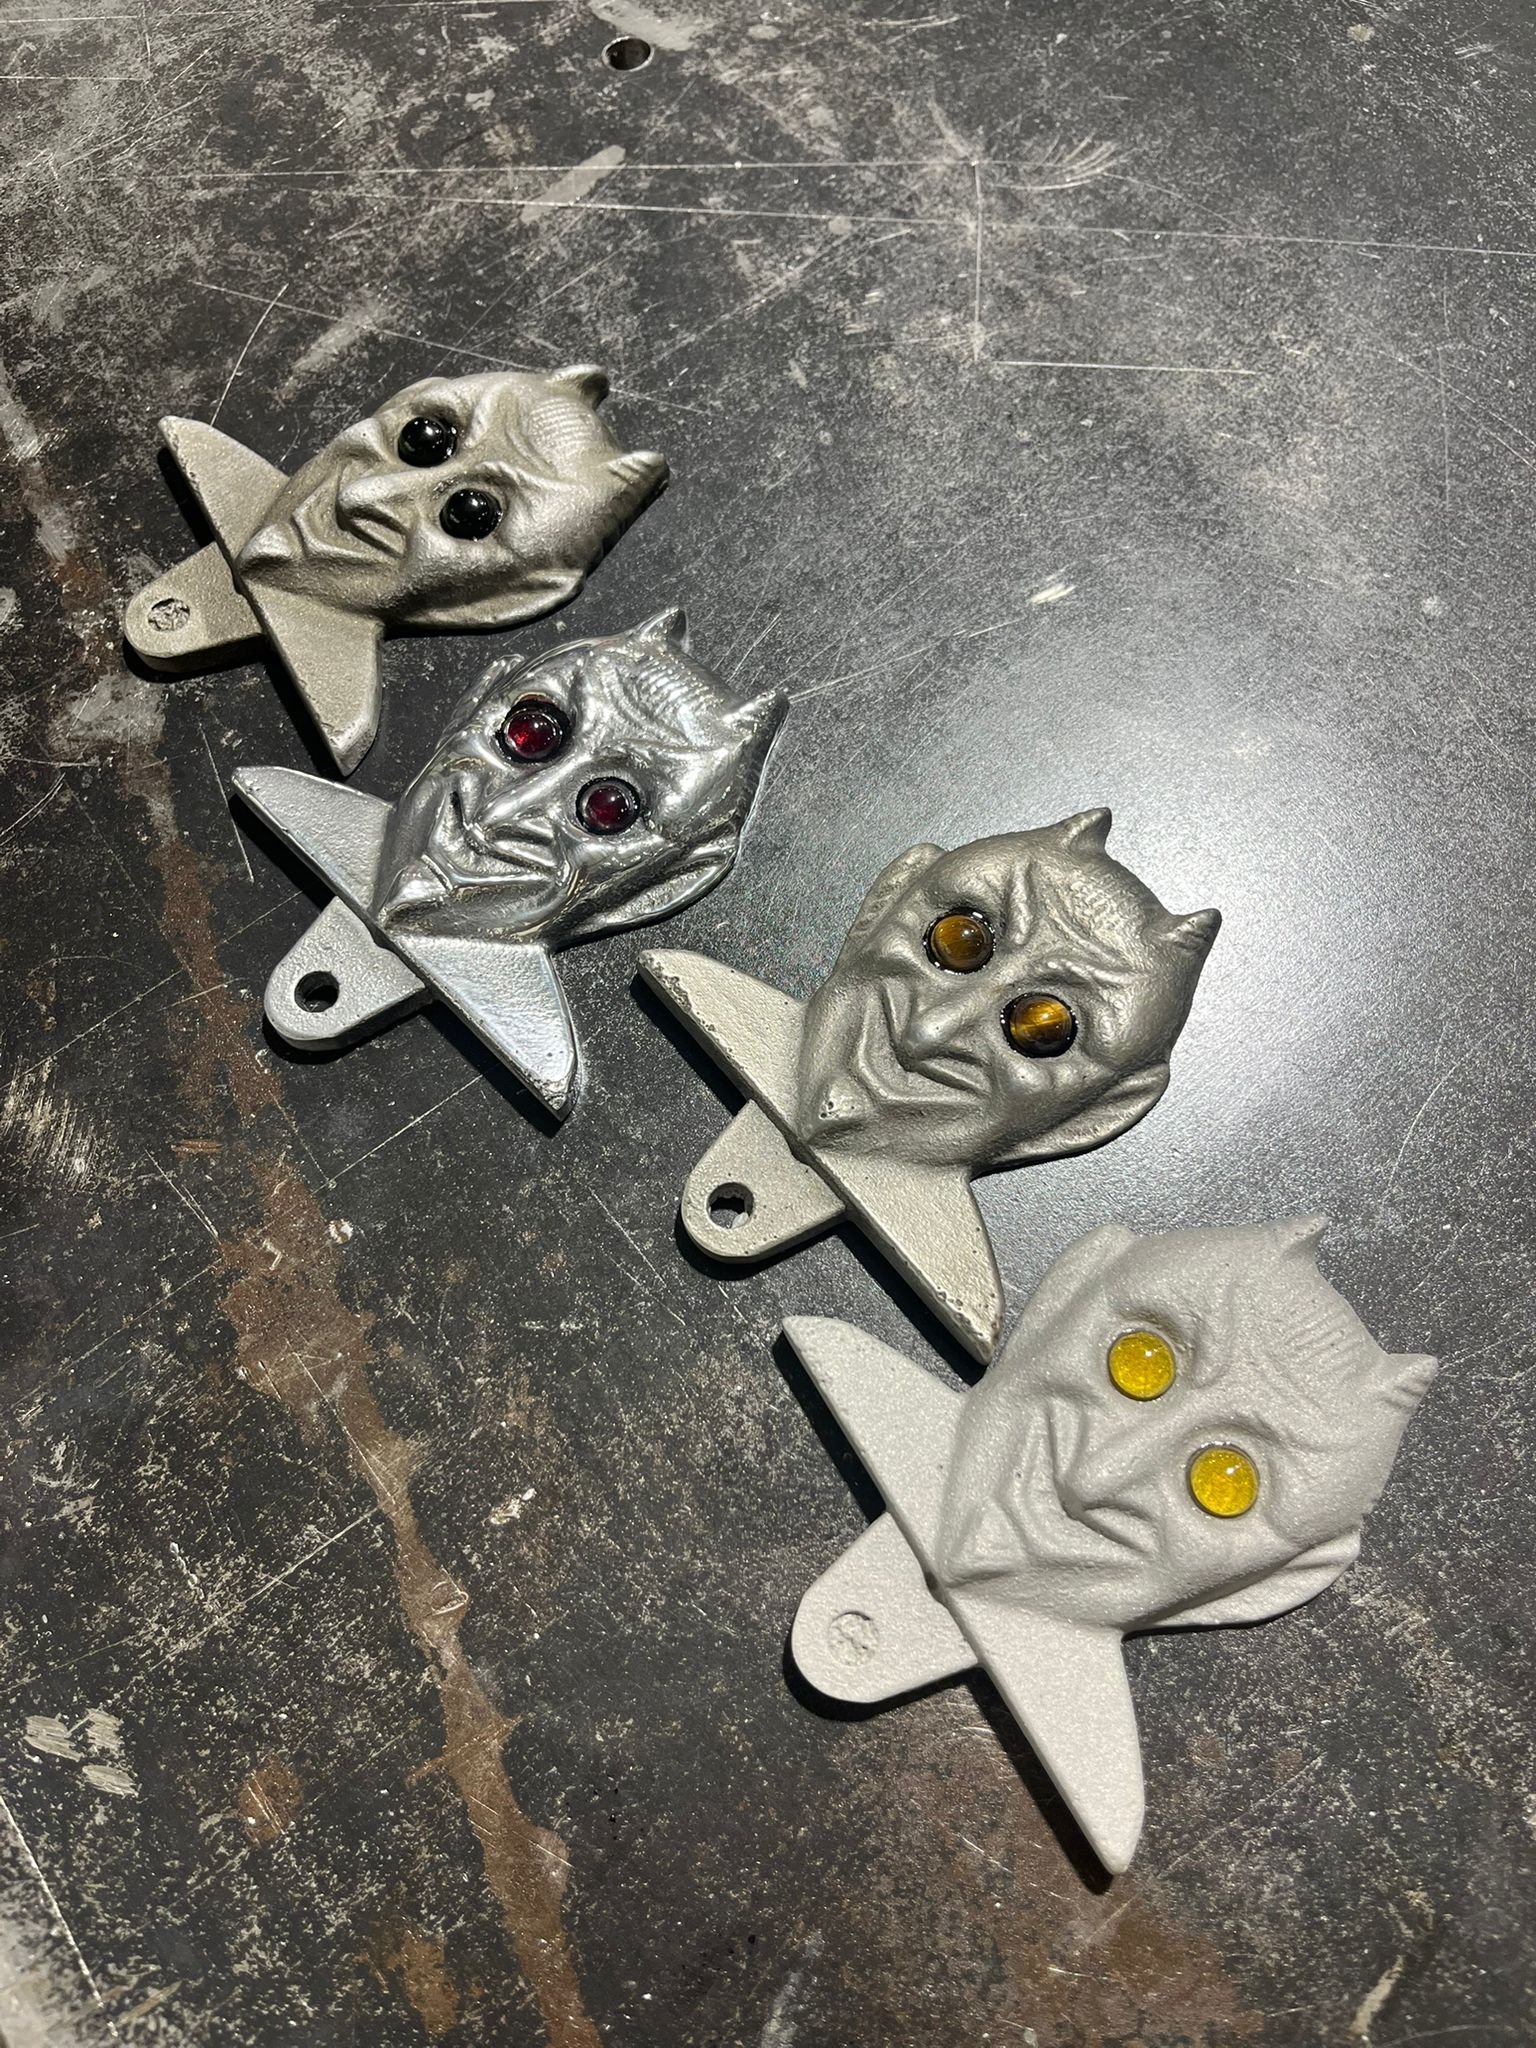
UPDATE 27.7.2026
Jordan has casted some of the Devil’s to test the form. In the pictures you see the different finishes and jewels he has used. More to come