

Ford Hot Rod Scanning in Dresden
I have been chasing the opportunity to get a 3D scan of a hot rod. Many phone calls, unanswered messages and even almost purchasing a Ford Tudor body led me to this Ford Ute. A cold message over Ebay allowed me to connect with a family who lived in a small town of Finsterwalde, which is half an hour from Dresden. They happened to have this amazing car stored in a barn on their property. They were kind enough to allow me to scan the car which lead me to packing all my Scanning gear and heading East.
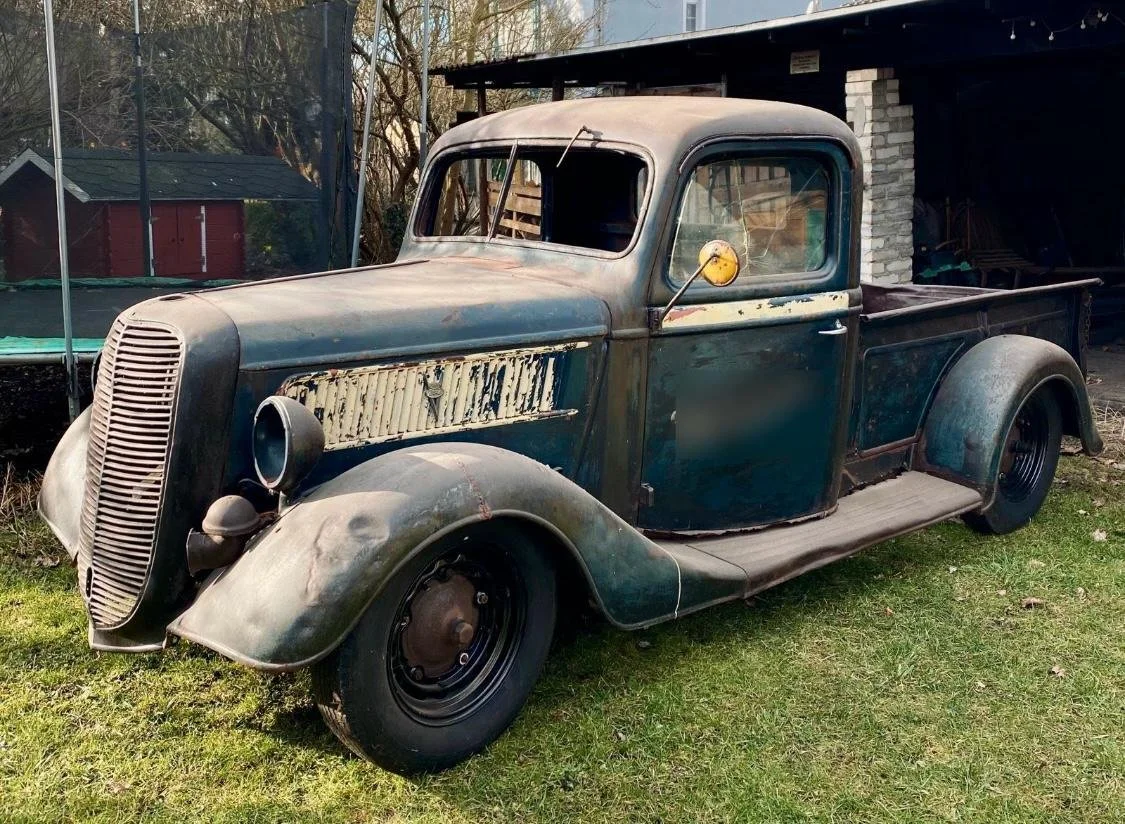
The purpose of scanning this car was to have a reference to create a digital car build. This will allow me to completely build out the car in the 3D space and showcase what is possible. The scanned model will be used to define all of the geometry and as a base to create custom parts.
Arriving at the property the car was sitting in a barn which at first wasn’t the best outcome as it was quite a tight space, however it also provided some advantages. It shielded the car from the rain that was threatening on the day but it also shielded the car from the sun. The scanner I am using projects light onto the surface in order to scan, if the car or object is in direct sunlight this messes with the scanning light and causes it to loose it’s place. This is an important point for future projects that they should be in a shielded environment with little natural light.
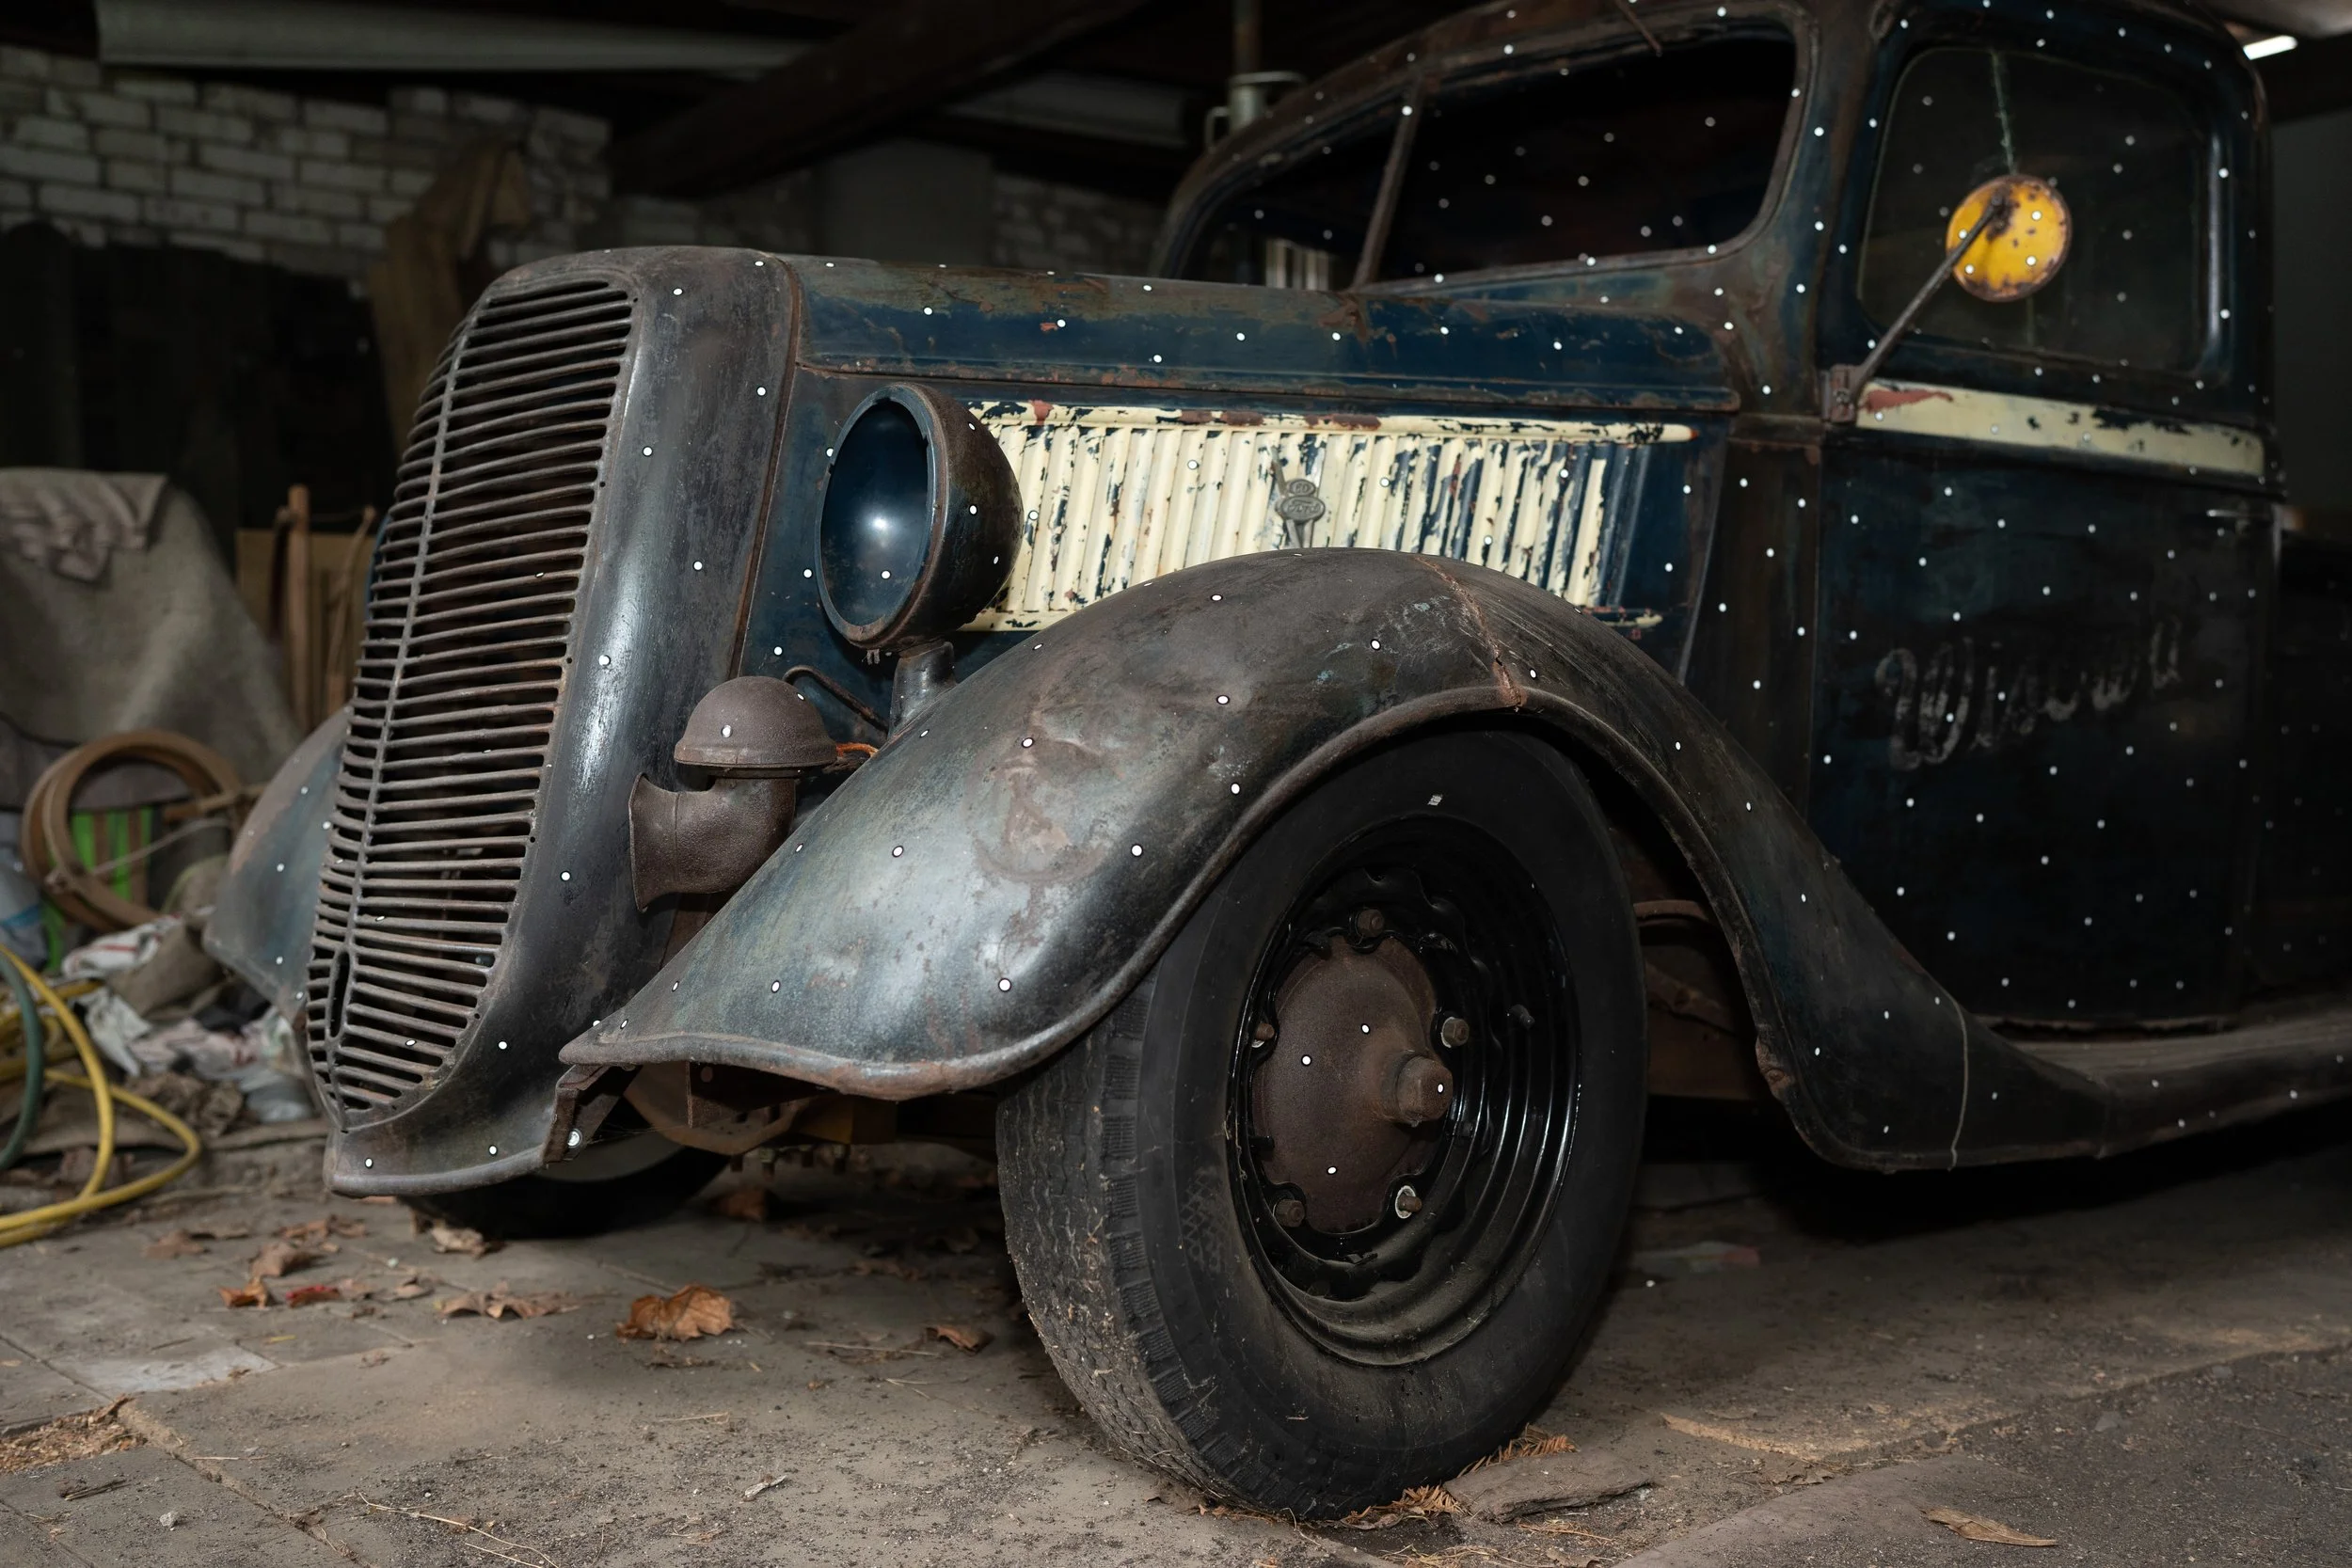

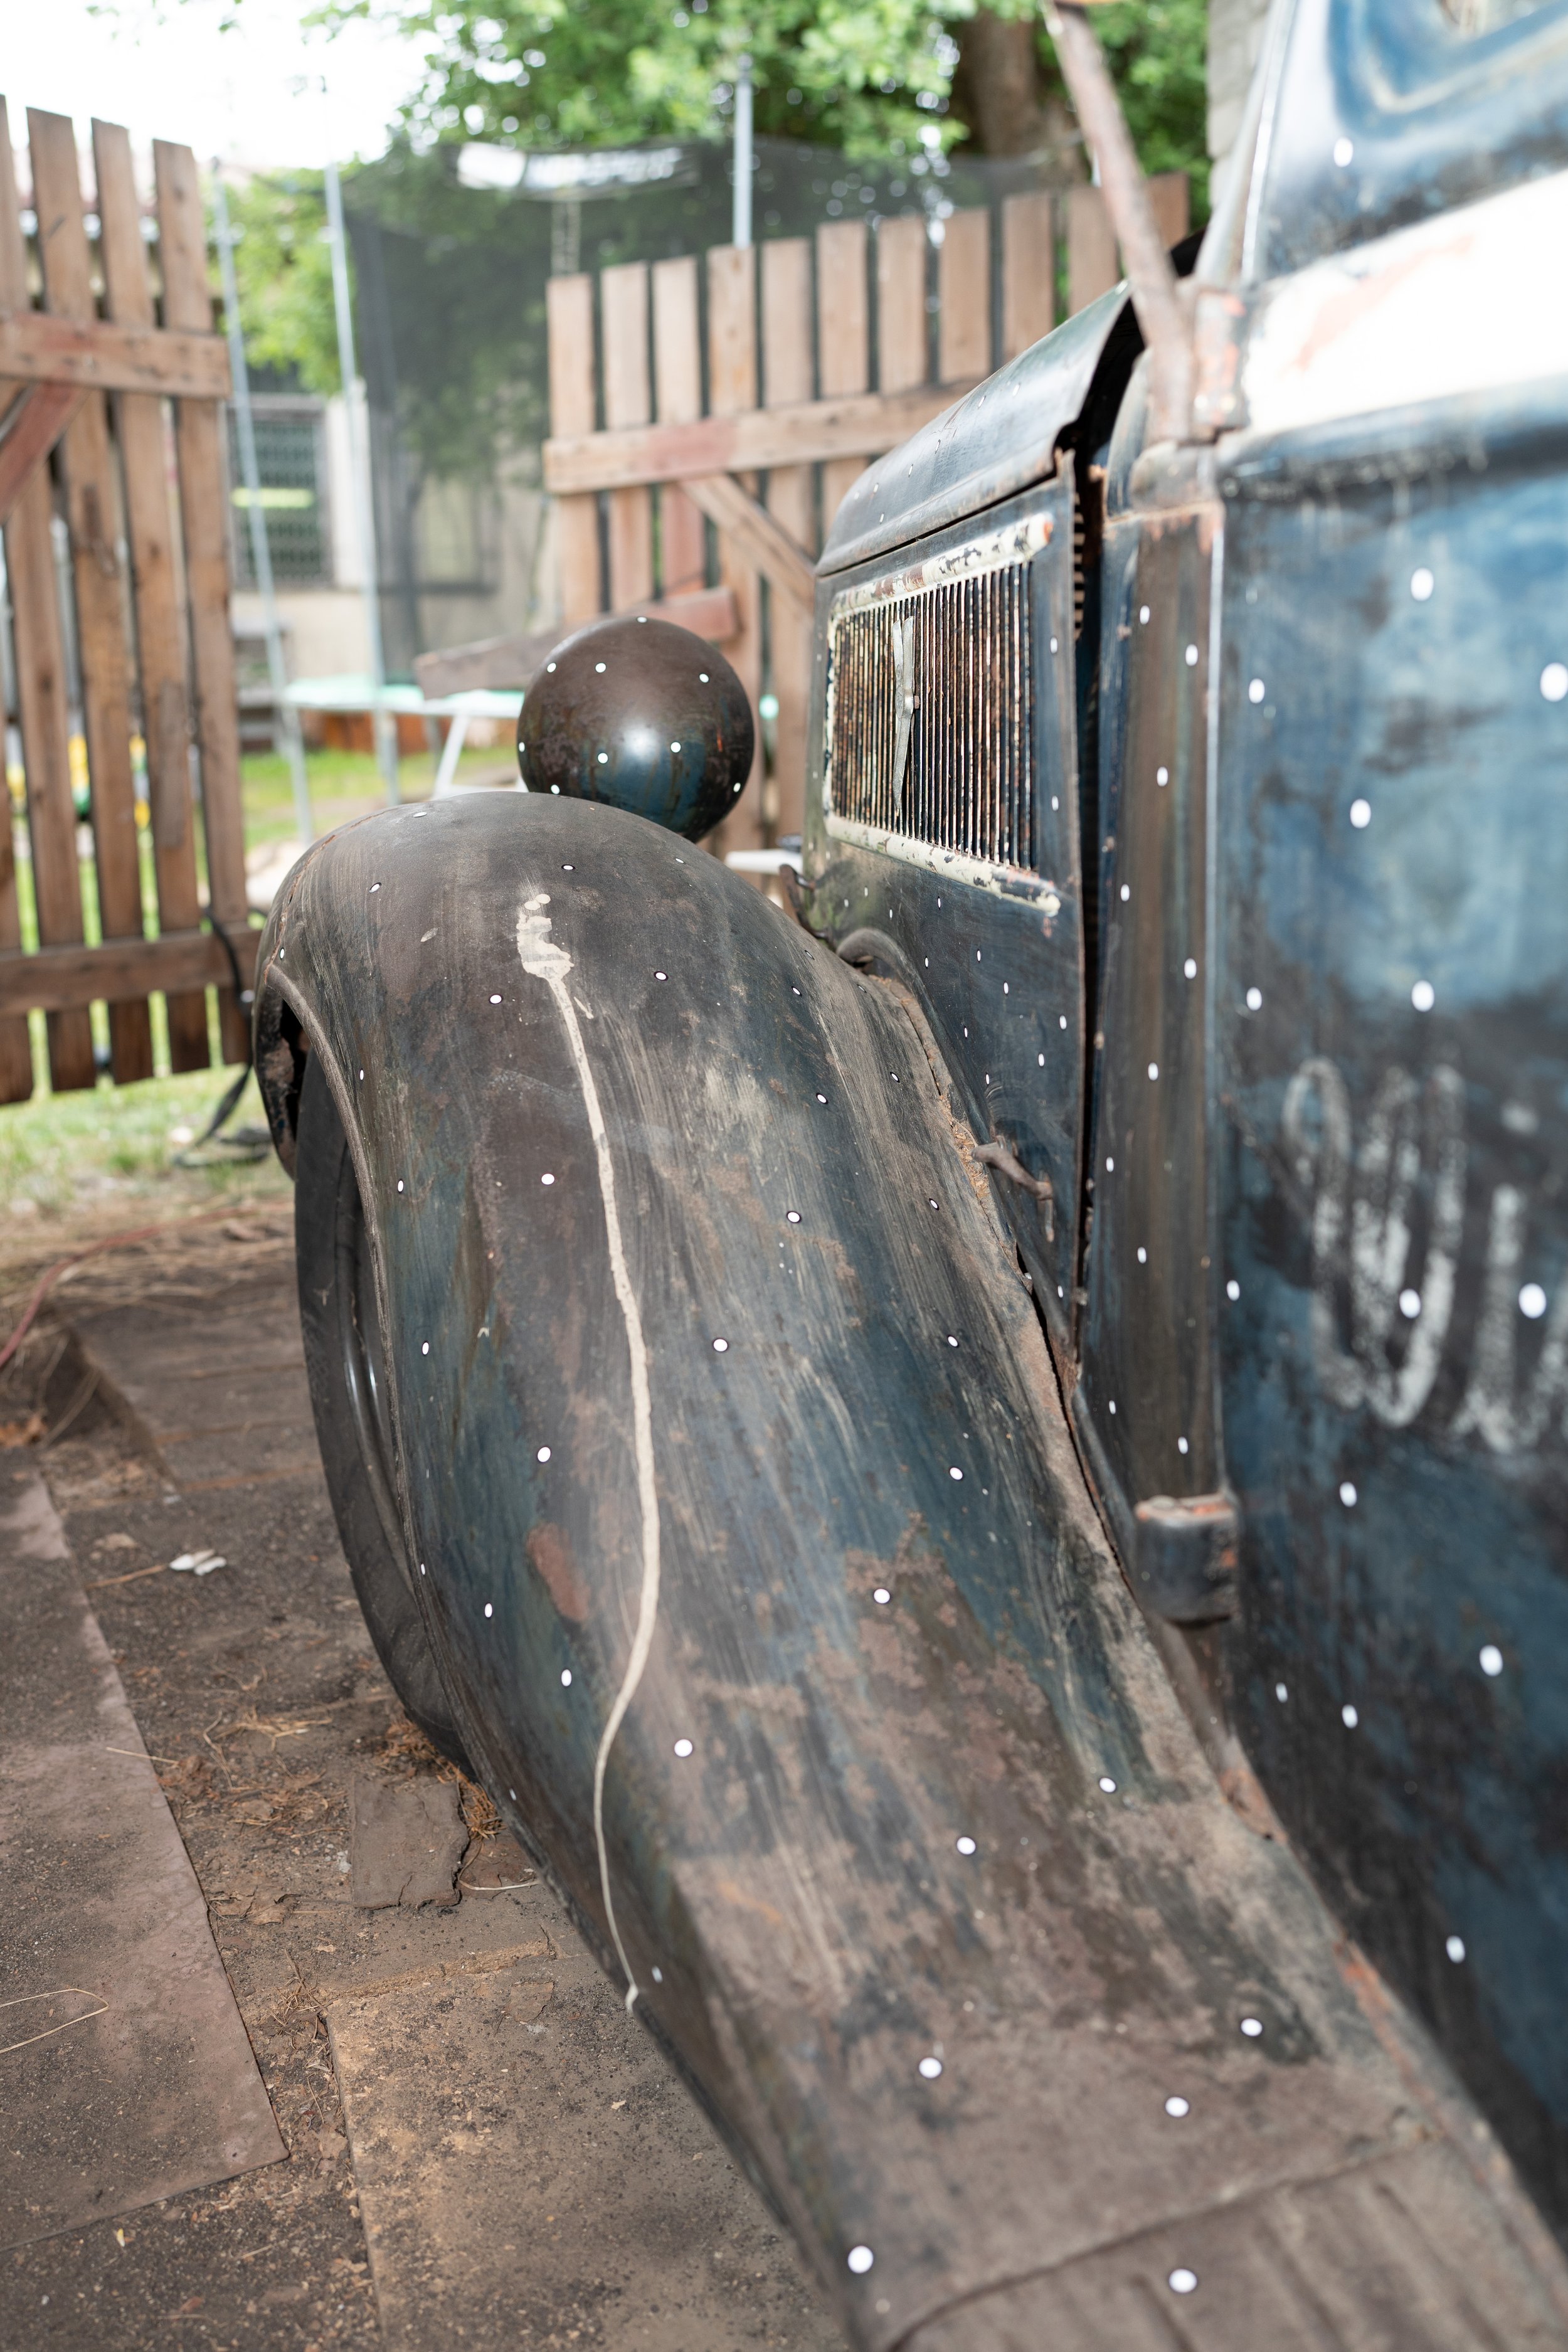
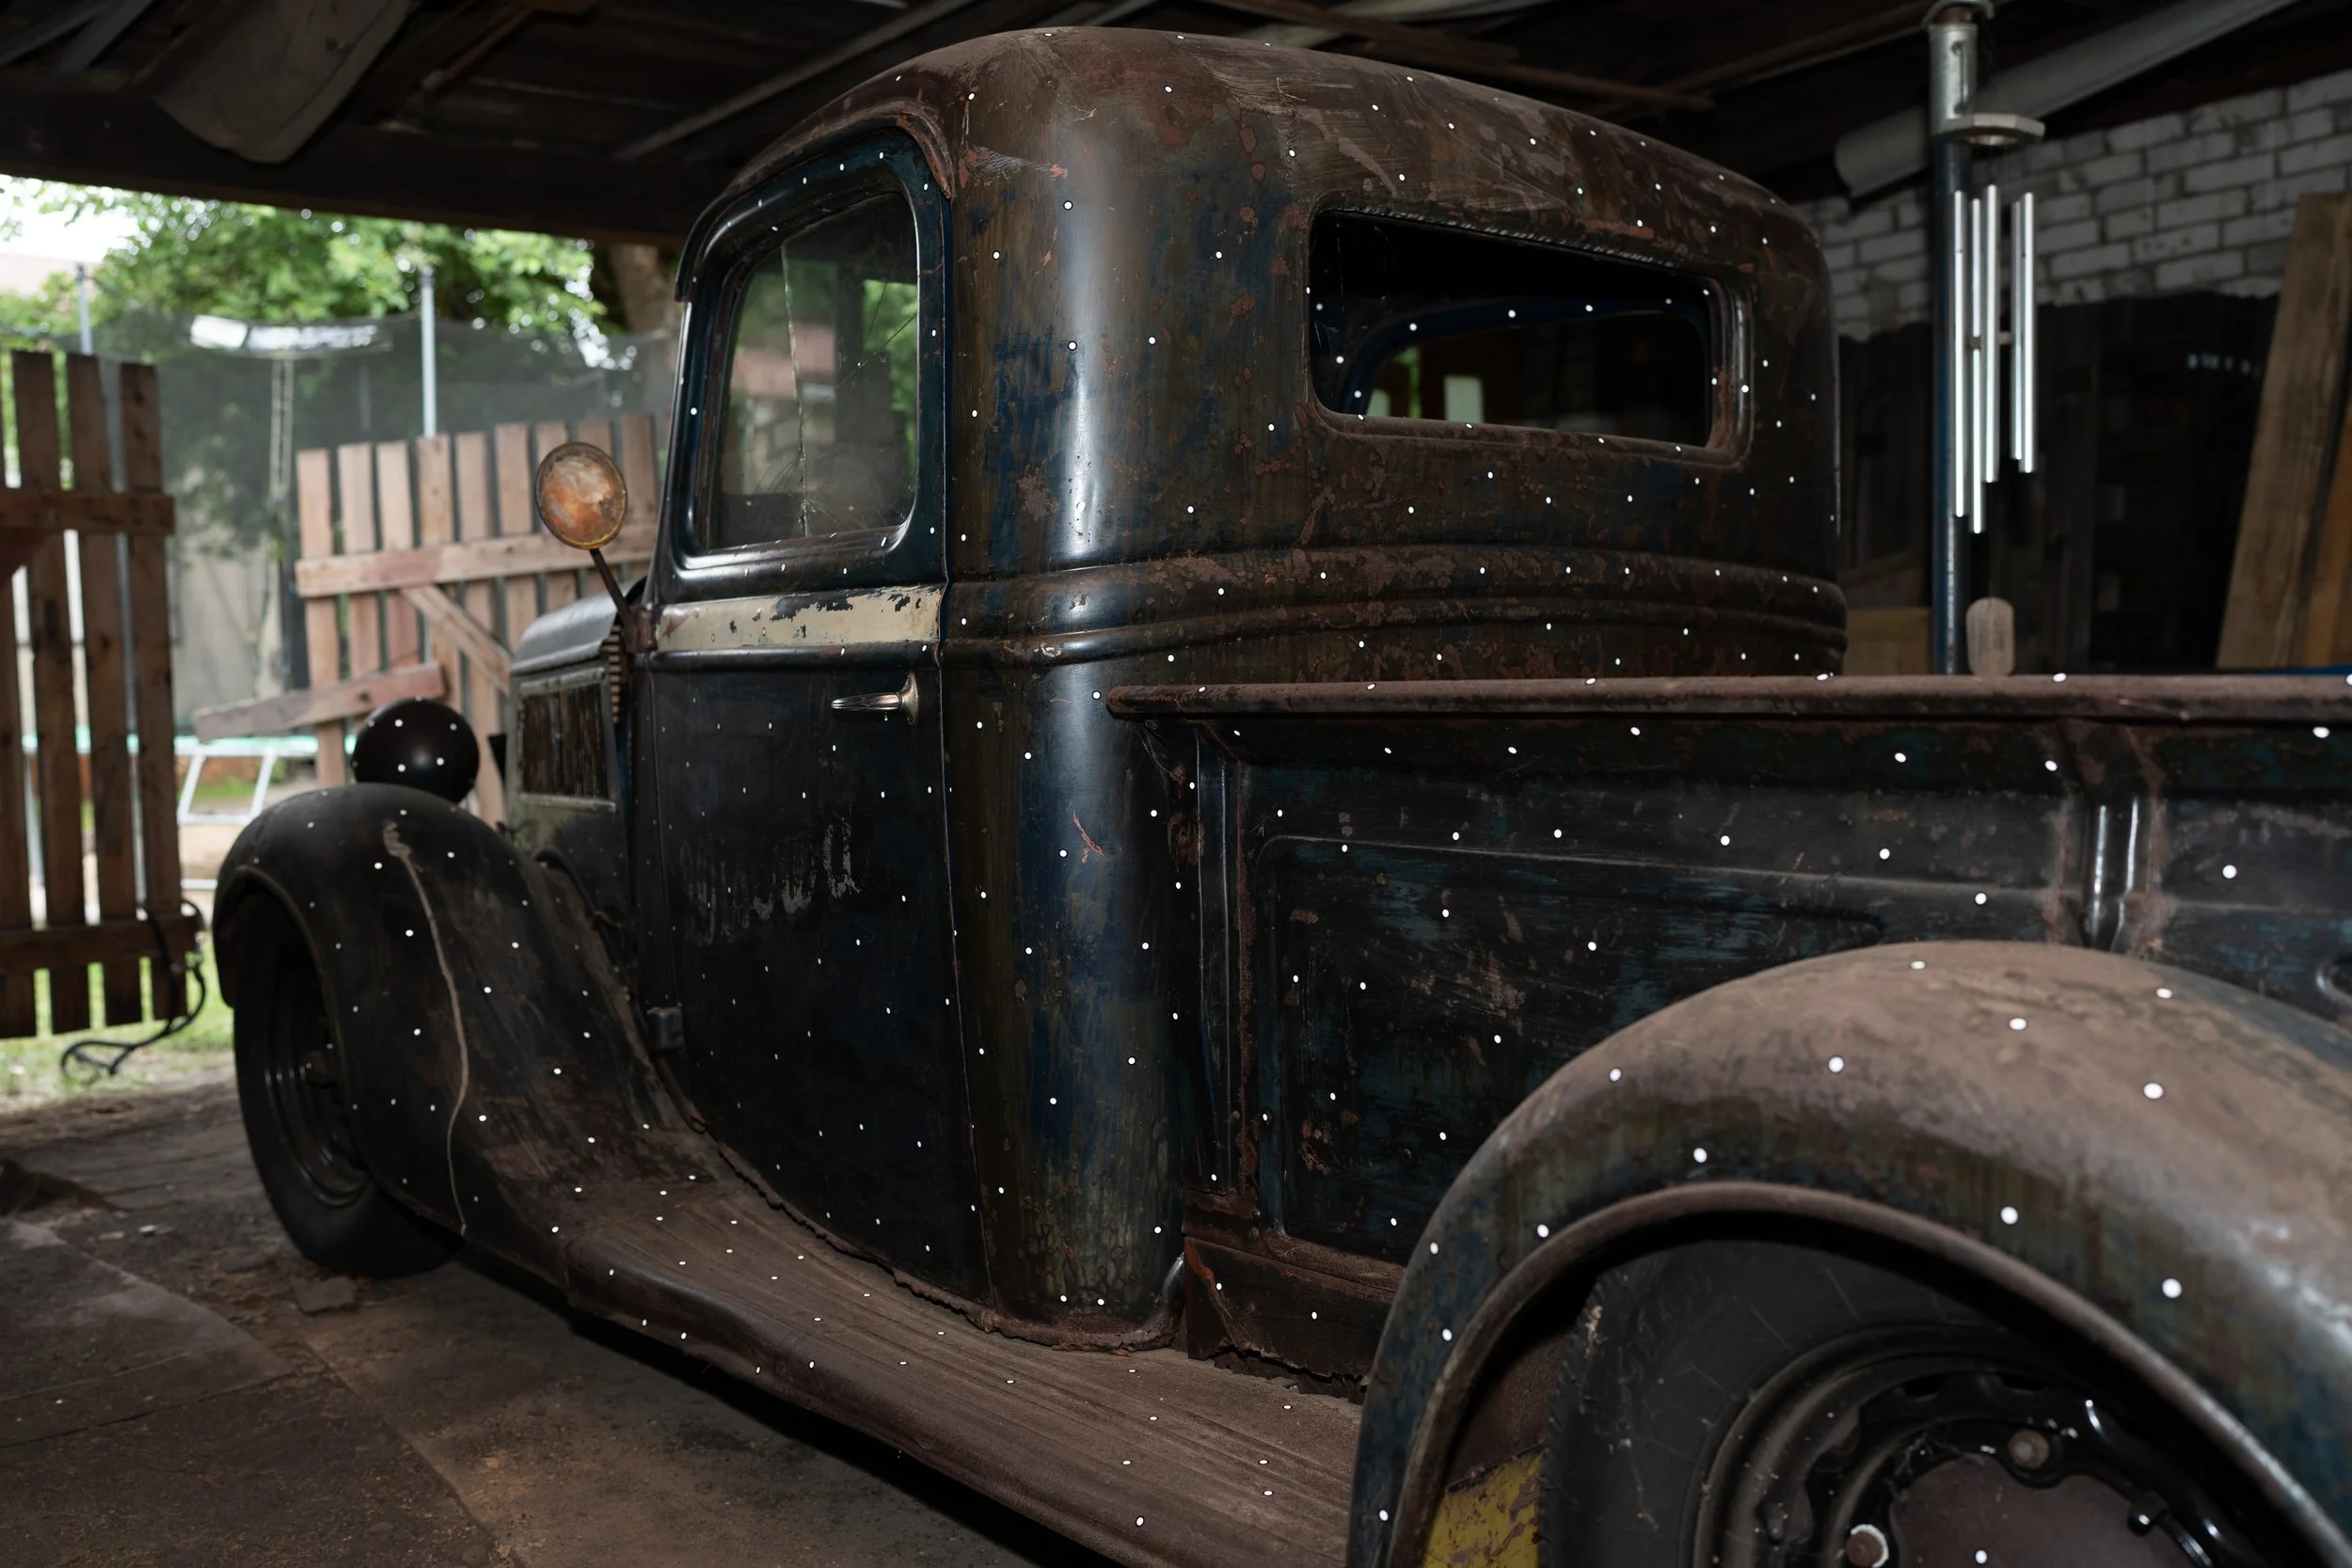
After setting up the laptop and scanning equipment the first task is to check all of surfaces and apply the reflective targets to the body of the car. The reflective targets are used by the scanner to track where it is in 3D space. Ideally the pattern of the dots is completely random which then gives the scanner a one off map to track were it is. It is also important before scanning to have a plan on how you are going to scan the car. For a car this is normally not completed in one scan, therefore there needs to be overlap between all of the scans. This allows later for all of the scans to be aligned correctly.
Once everything is setup the scanning can begin. In the first video you can see the scanner been guided over the surface, this is done over the whole car. In the second video the surfaces are being captured in the Peel.3D software. The surfaces are converted into a 3d mesh which can be used in CAD programs for design work. The accuracy of the scan can be set based on the size of the object and the amount of detail needed.
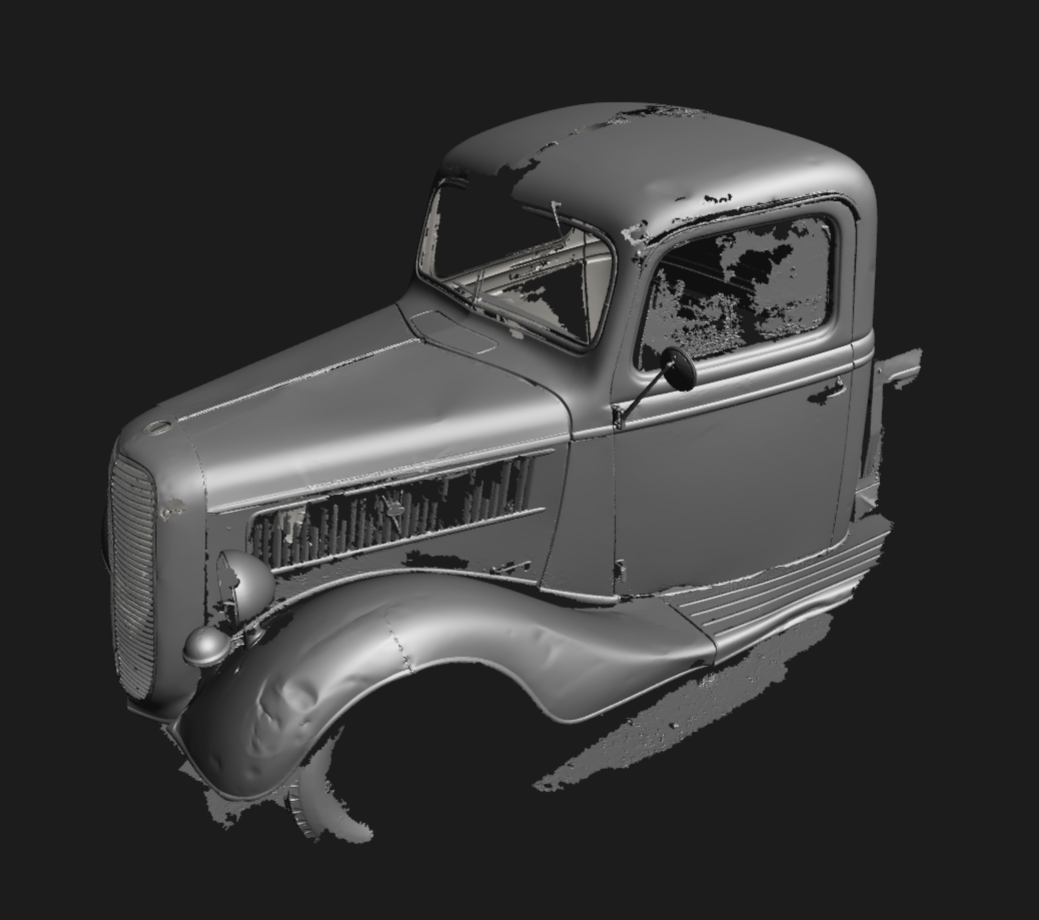


The car was scanned in three sections. A front, rear and interior section with a bit of overlap to allow for alignment. These three sections are then aligned using the scan software. The overlap allows the program to align one section with the next. It was broken down into three sections to make it more manageable as the scan files are quite large in size.
In the rear and interior scan you can see all the positioning dots. All of these dots were scanned at the beginning to have a global positioning system for the scan.
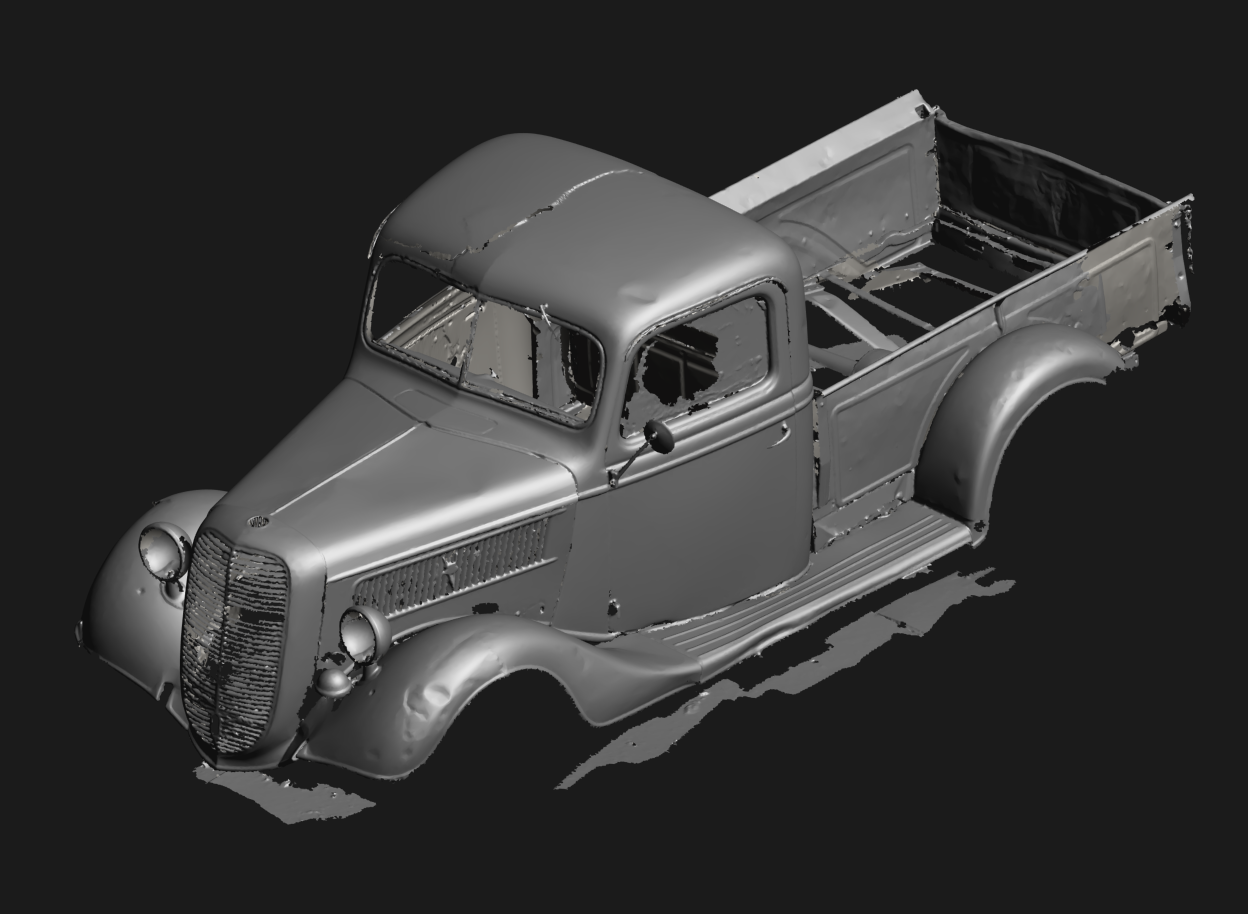
The final scan is stitched together into a complete 3D mesh. This is only a mesh file which can be used as a design reference. A lot more work is needed to create a complete 3D model that can be fully utilised in a CAD environment. This will be a running project which I look forward to sharing along the design process. Feel free to reach out with any questions or if this is something you are looking for more information on.